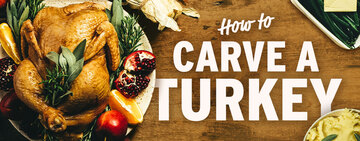


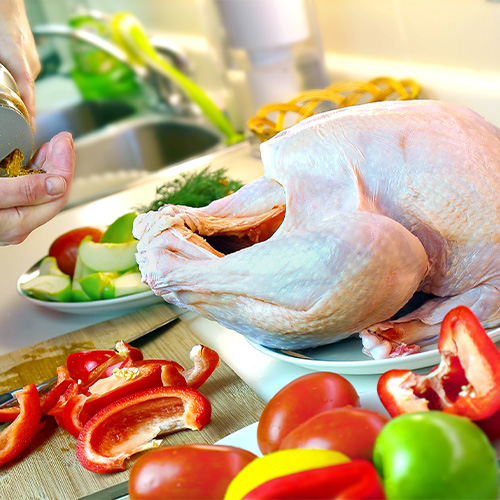
While people dispute Thanksgiving side dishes, i.e. sweet potatoes vs. yams, no one questions that the foundation of a traditional Thanksgiving feast is a roasted turkey. Reminiscent of a Norman Rockwell painting, the ideal Thanksgiving turkey has a sleek, golden exterior encasing juicy meat. The way chefs achieve this elegant appearance and succulent texture is by trussing the turkey before cooking it. We walk you through the steps of trussing a turkey so you can offer customers a superior Thanksgiving catering service.
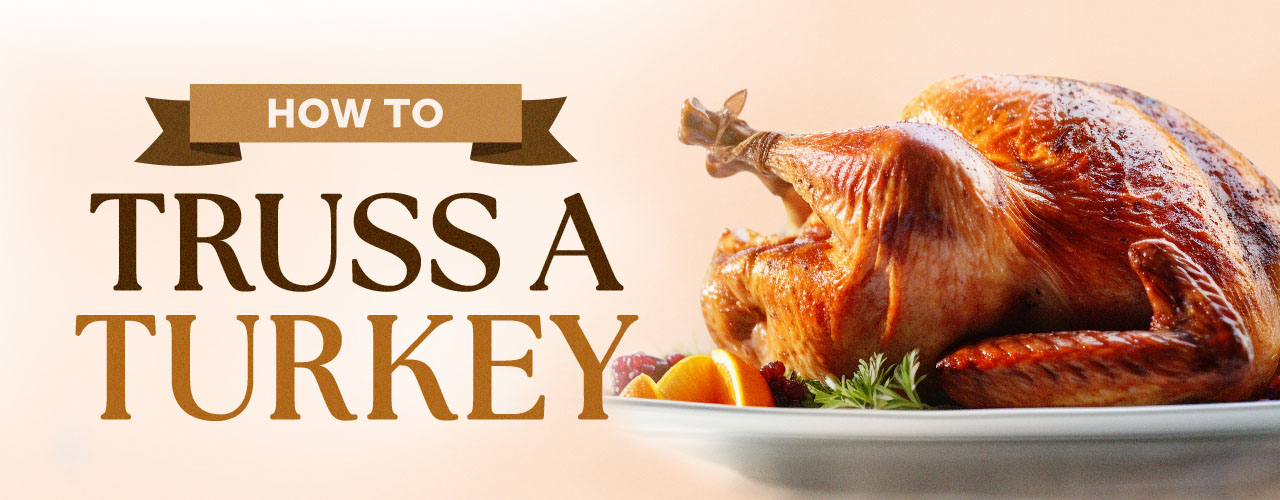
What Is Trussing?
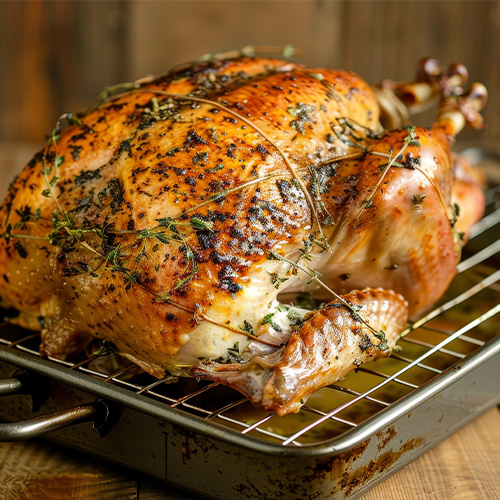
Trussing poultry is a culinary technique that involves tying a bird's wings and legs close to its body using kitchen or butcher's twine, ensuring its shape remains compact. This helps the heat to distribute evenly throughout the bird, so all parts cook at the same rate. Without trussing, the wings and legs may splay outwards, which can lead to uneven cooking and a less visually appealing presentation.
Trussing also plays a role in producing crispy and golden-brown skin on the poultry. When the wings and legs are secured close to the body, the skin on the breast area is pulled taut, allowing it to crisp up evenly during cooking. This crispy skin not only adds texture to the dish but also enhances the overall flavor and appearance of the poultry.
What Can I Use to Truss a Turkey?
When trussing a turkey, butcher's twine is the most popular option for securing the bird. Butcher’s twine is typically made from cotton or polyester and is designed to withstand high temperatures without compromising its strength. Its tight grip ensures that the turkey maintains its shape while cooking, resulting in a beautifully roasted bird. This durable and food-safe option is commonly used in commercial kitchens for trussing various cuts of meat and for binding and packaging raw meat in delis and grocery stores.
Step-by-Step Turkey Trussing Instructions
Proper trussing helps the turkey maintain its shape during the cooking process, ensuring that it cooks evenly and retains its moisture. Follow these step-by-step instructions to learn how to truss a turkey and achieve professional results.

1. Thaw the Turkey
Thawing a turkey properly is crucial to avoid harmful bacteria growth and ensure even cooking. The safest way to defrost a turkey is in the refrigerator. You will need to plan for approximately 24 hours for every 4-5 pounds of turkey. Place the turkey on a tray or in a pan to catch any drips and prevent cross-contamination.
2. Rinse and Dry the Turkey
Once thawed, thoroughly rinse the turkey under cold, running water, inside and out. This helps remove any lingering bacteria or debris from the bird’s surface. After rinsing, pat the turkey dry with paper towels; excess moisture can hinder the browning process during roasting. A dry surface also helps the seasonings adhere better to the skin, resulting in a more flavorful product.
3. Tuck the Wings
To tuck the wings, begin by placing the turkey on a clean work surface with the breast side up. Take one wing and fold it underneath the body of the turkey so that the tip of the wing is tucked securely beneath the bird. Repeat the process with the other wing, folding it underneath the turkey in the same manner. Make sure the wings are tucked snugly against the body to prevent them from moving during cooking.
4. Add Aromatics and Close Neck Flap
Before trussing your turkey, consider adding aromatics to enhance its flavor profile. Aromatics such as fresh herbs, garlic cloves, citrus slices, and onions can infuse the turkey with delicious flavors during the cooking process. To add aromatics, simply place your desired ingredients inside the turkey cavity. Do not add stuffing you plan to serve to your guests to the inside of the turkey cavity. Cooking stuffing inside a turkey is not a safe practice. Once you have added the aromatics, close the neck flap of the turkey by gently pulling the skin over the cavity opening and tucking it inside the bird.
5. Cut and Position the Twine
Cut a long piece of butcher’s twine, approximately four feet in length. Tie the center of the twine in a knot around the spine where the turkey’s neck used to be. Then bring both ends of the twine down the sides of the breasts, along the inner legs down to the tip of the breast bone. Tie a double knot tightly below the tip of the breastbone.
6. Crisscross the Legs
Take the right side of the string and wrap it around the right leg, then cross the string diagonally to place it upward along the left breast. Repeat on the other side. Once complete, pull both sides of the twine tight. This will crisscross one leg over the other.

7. Tie and Secure Your Turkey
Now with string back to the side of each breast, wrap each side of the twine outward over the turkey’s wings. Flip the bird over with the neck facing you and tie another knot at the middle of the turkey's back. Take both sides of the twine up over the backend of the bird, and flip once more. With the breast side up, take both ends of the twine and tie a double knot around the bird at its legs.
Trussing not only helps the turkey cook more evenly, but it also creates a beautiful presentation when you serve it. Remember to season your turkey generously and consider adding aromatics such as herbs and citrus fruits to enhance the flavor profile. Lastly, monitor the internal temperature of the turkey using a meat thermometer to ensure it is cooked to perfection.